In this post I’m going to show how I triggered an automatic cache invalidation for the Cloudfront distribution that is serving this website. As in the previous posts, all the resources will be provisioned via CloudFormation.
At the end of the post the CLI commands to create and / or update the resources will be shown.
The manual procedure
Once that the markdown file for a post is written and a local compilation / rendering has been made, the markdown source can be pushed on the git repo. That triggers the AWS Codepipeline that will download the source, render the markdown into html, and push the result to the S3 bucket served by Cloudfront.
Since Cloudfront is serving the S3 bucket, caching is in place. Newly pushed content won’t be visible until the cache expires, which is not feasible. So, after a successful compilation and pushing to S3, I manually get to Cloudfront distribution invalidations and fire a new invalidation. This way I’m sure that subsequent requests to the website will get the newly updated content.
In the images below the steps for manual invalidation are shown:
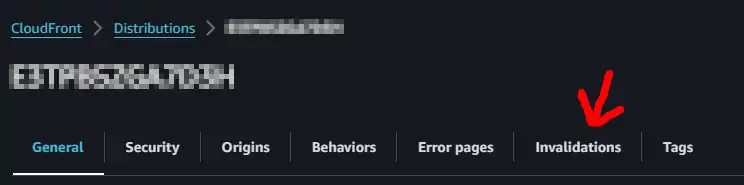
Go to CloudFront / Distributions, and search for “Invalidations” tab
Then selecting the last successful invalidation (shown below on the very left) and “copy to new” (upper right)

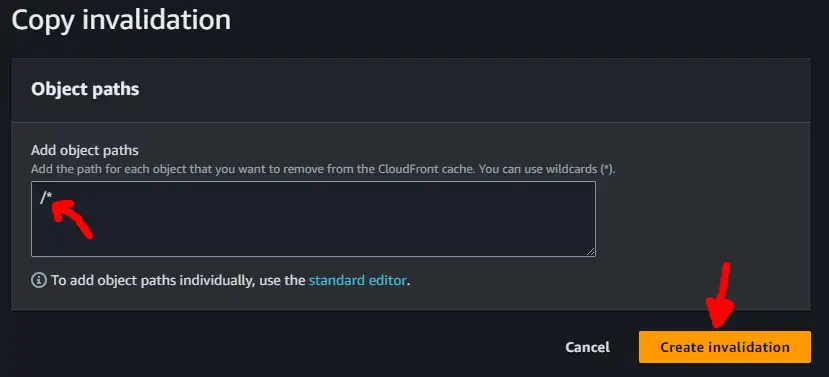
And then confirming the copy of the invalidation with the last path (the path /* is fine since AWS charges per invalidation, regardless of how much deep it is)
The invalidation takes a few minutes to be completed, and then the website is good to go. This is a mundane and forgetful-prone task, so I’m better automating it.
Automation setup
There is not an “invalidate cache” action that can be directly call from CodePipeline. A Lambda that actually creates the invalidation is needed and must be called as an action in the CodePipeline structure.
Let’s see in details the two resources: